Why You Need Extra Adhesive for Peel and Stick Wallpaper
A Handy Guide to Perfect, Long‑Lasting Walls
We’re a team of home makeover fans who’ve tried every trick in the book. We know how peel-and-stick wallpaper can transform a room. But sometimes, it just won’t stick right. That’s why we trust extra adhesive for peel-and-stick wallpaper to seal the deal. You might be thinking, “Do I need more glue?” The answer is yes. In this guide, we break down when to add a boost of hold, how to prep your walls, and the best tricks to keep patterns flat and neat. We’ll share simple steps, little asides, and a clear call to action so you can tackle your next project with confidence. Ready to say goodbye to curling corners and hello to flawless walls? Let’s jump in.
What Is a Peel and Stick Wallpaper Helper?
Peel and stick wallpaper helper is a clear primer you roll on walls. It adds grip to make pre‑pasted papers stick better. Think of it as a safety net for your wall décor.
Why It Matters
- Adds extra hold in humid spots
- It prevents edges from curling
- Works on smooth and slightly textured walls
When you need extra insurance against slipping seams, this primer shines.
When to Use Extra Adhesive
You don’t always need it. But it helps when:
- The walls are freshly painted. New paint can be slick.
- Rooms get steamy. Kitchens and baths need more grip.
- Patterns are heavy. Thick vinyl designs can lift at the edges.
- The walls have minor bumps. Even slight texture stops complete contact.
You might be wondering… can’t I press harder? Pressing helps, but it won’t fix slick or textured surfaces. That’s where the extra adhesive comes in.
Preparing Your Walls
Good prep makes all the difference. Follow these steps:
- Clean walls. Wipe dust and grease off.
- Fill holes. Patch minor dents and let dry.
- Sand smooth. Lightly sand to remove bumps.
- Prime if needed. Use a basic primer on very porous drywall.
No shortcuts here. Skipping prep leads to bubbles and loose corners.
How to Apply Extra Adhesive
Applying this helper is easy. Just follow our steps:
- Stir the primer. Could you give it a quick mix by hand?
- Use a roller. A ⅜‑inch nap works well.
- Cover in sections. Roll on 3‑foot wide strips.
- Wait 10 minutes. Let it dry until tacky.
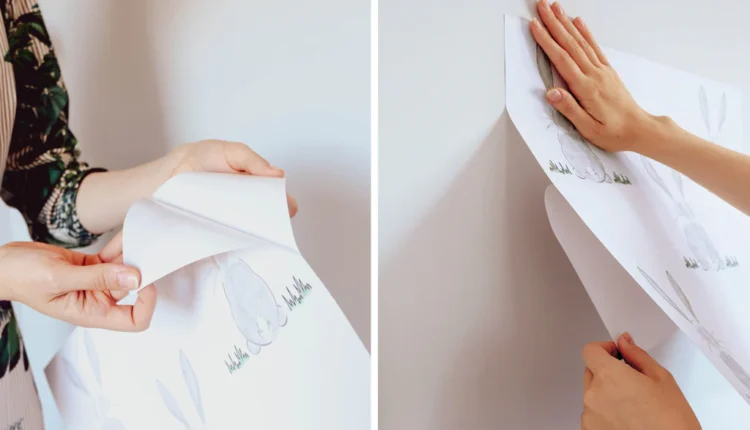
- Hang your wallpaper. Line the top, then smooth down.
A few more minutes here saves a lot of time later.
Tips for Flawless Hanging
Here are our top pointers:
- Smooth from the centre out to push air out.
- Use a seam roller or credit card at the edges.
- If a bubble appears, lift the paper and re‑press.
- Keep a damp sponge handy for paste cleanup.
These small moves make a big difference in your final look.
Avoid Common Mistakes
Even pros slip up sometimes. Watch out for:
- Over‑sanding. It’s too It’s too smooth, and the helper won’t stick.
- Rushing dry time. A primer that’s too wet leaves marks.
- Uneven coat. Thin spots cause loose edges.
Spot these pitfalls early to keep your patterns crisp.
Caring for Your Walls Long‑Term
Maintenance is simple:
- Gently wipe with a damp cloth.
- Skip harsh cleansers.
- Check corners monthly and press if loose.
A quick check saves a full rehang down the road.
Conclusion and Next Steps
We’re here to guide you to great walls. With these tips and the help of extra adhesive for peel-and-stick wallpaper, you’ll dodge curling edges and bubbles. Prep right, apply carefully, and enjoy patterns that last. For more tips, head to myhometownhome.com and see how small steps lead to big wins.
Call to Action: Grab a helper primer, prep your walls, and hang your next peel-and-stick project with confidence. Share your results—we can’t wait to see your transformed space!


Comments are closed.